A kitchen faucet cartridge is what allows you to control water flow and temperature with a simple twist of the handle. When it wears out, you may notice dripping, reduced pressure, or difficulty adjusting water temperature. These are all signs that it’s time to swap out the old cartridge for a new one. While many people assume this is a job for a plumber, replacing a faucet cartridge is surprisingly doable for most homeowners. Our favorite part? You don’t need fancy tools—just a few basic items and a little patience. In this guide, we’ll walk you through the entire process so you can stop the leaks and get your faucet working like new again.
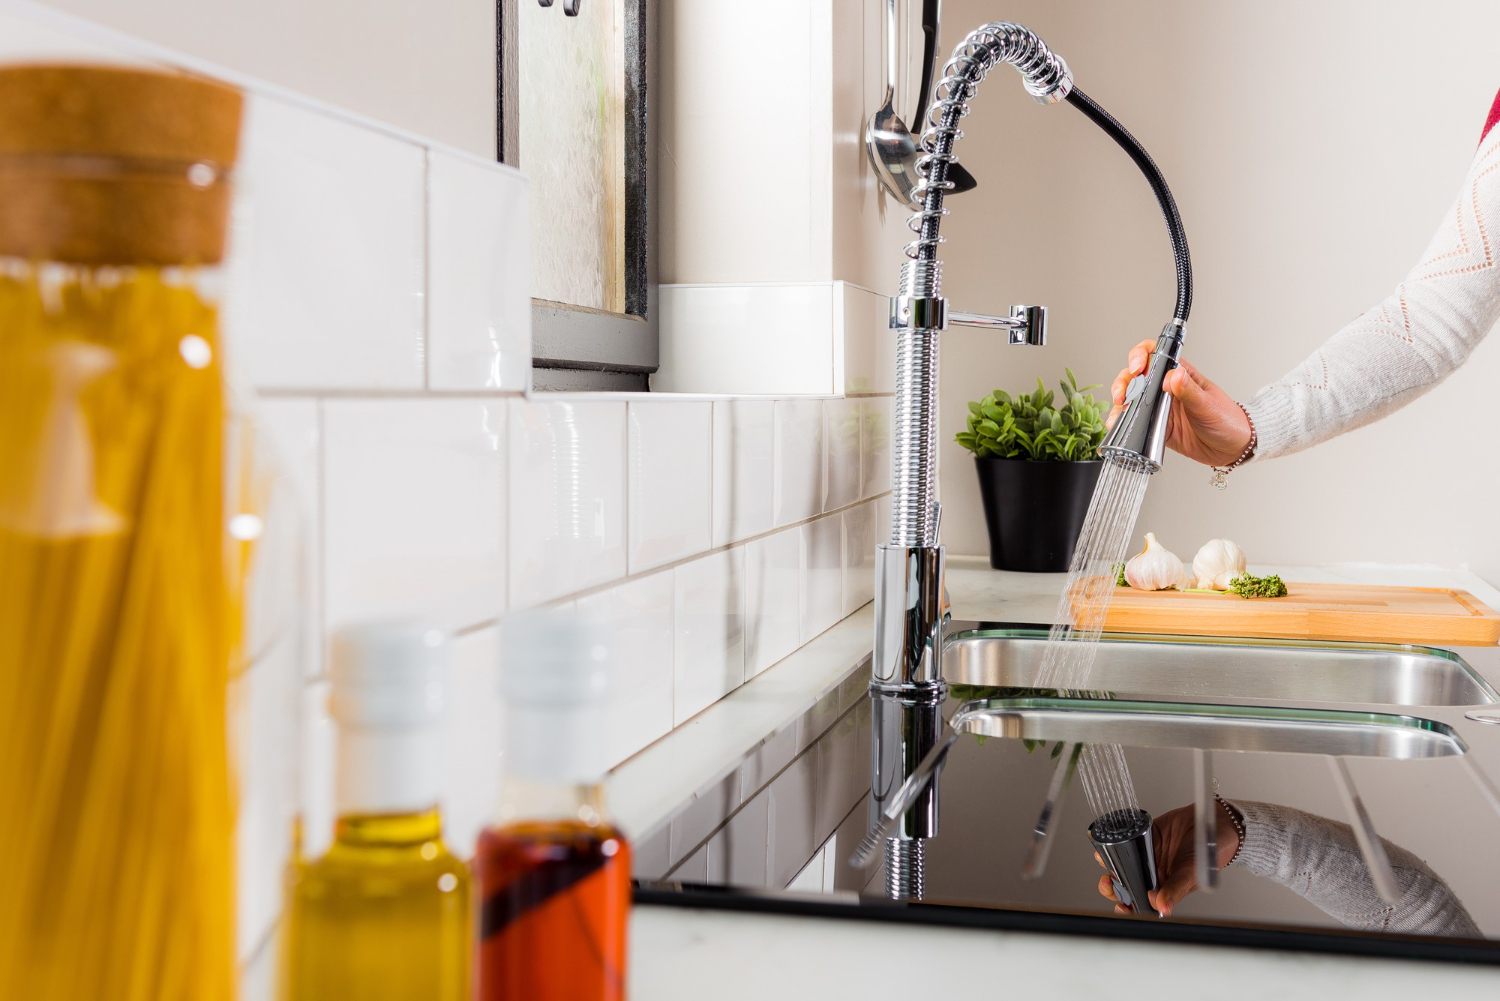
What Is a Kitchen Faucet Cartridge?
The faucet cartridge is the internal piece that controls both water flow and temperature. When you turn the handle, the cartridge slides or rotates inside the faucet body, opening channels for hot and cold water and mixing them to your preferred temperature. Cartridges are used in both single-handle and dual-handle kitchen faucets, and they vary in design depending on the brand and model.
They’re usually made from plastic or metal and contain rubber seals and washers that help control flow. Over time, these internal components wear out, leading to leaks, inconsistent temperature control, or a faucet that doesn’t shut off properly.
Why Faucet Cartridges Fail
Like any mechanical part, faucet cartridges wear out over time—especially in busy kitchens. Here are a few of the most common reasons for failure:
- Age and wear: Daily use gradually wears down seals and moving parts.
- Hard water deposits: Mineral buildup from hard water can clog or corrode the cartridge.
- Improper installation: A poorly aligned or mismatched cartridge can wear out quickly.
- Poor-quality materials: Low-cost cartridges may not last as long as high-quality ones.
When these problems occur, water may leak from the spout or around the base of the handle, or you may notice irregular water pressure.
Signs You Need to Replace the Cartridge
Not sure if your kitchen faucet cartridge is the issue? Watch for these signs:
- Dripping faucet when turned off
- Handle feels stiff or loose
- Water temperature is hard to control
- Uneven or weak water flow
- Water is leaking around the faucet base
If you’re dealing with any of these problems, it’s time to take a closer look inside your faucet.
Tools You’ll Need
You don’t need a toolbox full of gear to replace a faucet cartridge. Most homeowners already have the essentials:
- Adjustable wrench or channel lock pliers
- Screwdrivers (Phillips and flathead)
- Allen wrench (hex key)
- Cartridge puller (optional but helpful for stuck cartridges)
- Plumber’s grease
- Clean rag or towel
- A bucket or bowl to catch water
- Replacement cartridge (matched to your faucet model)
Optional but helpful: a flashlight for better visibility under the sink.
How to Identify the Right Replacement Cartridge
Cartridges aren’t one-size-fits-all. They come in different shapes, sizes, and configurations depending on the faucet brand and model.
Here’s how to identify the correct one:
- Check the faucet brand and model: This info is often found on the faucet body or manual.
- Remove the old cartridge and take it to the hardware store: Comparing the old cartridge side by side is often the easiest method.
- Visit the manufacturer’s website: Many faucet brands have online tools to help you find the right part.
- Use a cartridge identification kit: Some hardware stores offer kits with photos and measurements to match your cartridge.
Choosing the right cartridge is key to avoiding leaks and getting proper water flow.
Step-by-Step: Replacing a Kitchen Faucet Cartridge
Now, let’s walk through the full process of replacing your cartridge. This usually takes about 20–30 minutes.
Step 1: Turn Off the Water Supply
Look under your sink and find the shutoff valves for hot and cold water. Turn them both clockwise to stopthe water flow. If you don’t have shutoff valves under the sink, turn off the main water supply.
Step 2: Open the Faucet to Drain Pressure
Turn on the faucet to release any remaining water and relieve pressure from the lines.
Step 3: Remove the Handle
Depending on your faucet design, you may need a screwdriver or Allen wrench to remove the handle. Look for a set screw under or behind the handle.
Step 4: Take Off the Retaining Nut or Clip
Once the handle is off, you’ll usually see a retaining nut or a metal clip holding the cartridge in place. Use pliers or a wrench to carefully remove it.
Step 5: Remove the Old Cartridge
Pull the cartridge straight out. If it’s stuck, use a cartridge puller tool to help remove it without damaging the faucet body.
Step 6: Clean the Faucet Body
Use a clean cloth or old toothbrush to wipe away any dirt, grime, or mineral buildup inside the faucet.
Try now: plumber roseville ca
Step 7: Insert the New Cartridge
Align the new cartridge with the same orientation as the old one. Push it in firmly until it seats properly. Some cartridges have tabs or notches that must line up with the faucet body.
Step 8: Reassemble the Faucet
Reinstall the retaining clip or nut. Then reattach the handle using your screwdriver or Allen wrench.
Step 9: Turn the Water Supply Back On
Slowly open the shutoff valves. Turn on the faucet and check for any leaks.
Step 10: Test the Faucet
Move the handle through its full range to ensure smooth operation and correct water temperature mixing.
What to Do If the Cartridge Is Stuck
If the old cartridge won’t come out, don’t force it—this can damage the faucet. Here are a few tricks:
- Use a cartridge puller: These tools are designed to grip and remove stuck cartridges safely.
- Soak with vinegar: Apply white vinegar around the cartridge to help dissolve mineral buildup.
- Wiggle gently: Try gently rocking the cartridge back and forth to loosen it.
If none of these work, it may be time to call a plumber to avoid damaging the faucet body.
Post-Replacement Tips for Smooth Operation
After installing your new cartridge, follow these tips to keep your faucet working like new:
- Operate the handle gently—forcing it can shorten the cartridge’s life.
- Clean the aerator—mineral deposits here can reduce flow even with a new cartridge.
- Use plumber’s grease on moving parts during installation for smoother action.
- Avoid hard water buildup by installing a water softener or using vinegar to clean regularly.
Routine maintenance can go a long way toward extending your faucet’s lifespan.
How to Prevent Future Faucet Problems
Here’s how to keep your kitchen faucet in top shape after a cartridge replacement:
- Avoid overtightening the handle when shutting it off.
- Clean the faucet monthly to prevent grime buildup.
- Check for leaks often to catch problems early.
- Flush the lines yearly to remove mineral deposits.
The cleaner and more cared for your faucet is, the longer your cartridge will last.
When to Call a Professional
While this job is very DIY-friendly, there are situations where calling a plumber makes sense:
- You can’t identify your faucet brand or model
- The cartridge is stuck and won’t budge
- The faucet is leaking from the base or under the sink
- You’ve replaced the cartridge, and it’s still not working
Don’t hesitate to get expert help if needed. The cost of a quick repair is usually less than the cost of water damage from a slow leak.
Final Thoughts
Replacing a kitchen faucet cartridge isn’t just about stopping leaks—it’s about keeping your daily routines smooth and stress-free. With just a few tools and about 30 minutes of your time, you can restore proper water flow, regain full control over temperature, and avoid bigger plumbing problems down the line.
Whether you’re dealing with a dripping faucet or struggling to control the water temperature, changing the cartridge could be the simple fix you need. Don’t wait until a small issue turns into a flood—take action, follow the steps in this guide, and enjoy a perfectly working faucet again.