Unexpected cold snaps can cause major headaches for homeowners—burst pipes, water damage, and expensive repairs. The good news? With a few proactive steps, you can protect your plumbing system even when the temperature takes a sudden dive. This guide walks you through simple, effective ways to prevent frozen pipes, especially during surprise cold weather. It’s written in plain language so anyone—even an 8th grader—can understand and apply it. Let’s explore how to keep your home safe, dry, and stress-free this winter.
1. Why Frozen Pipes Are a Big Deal
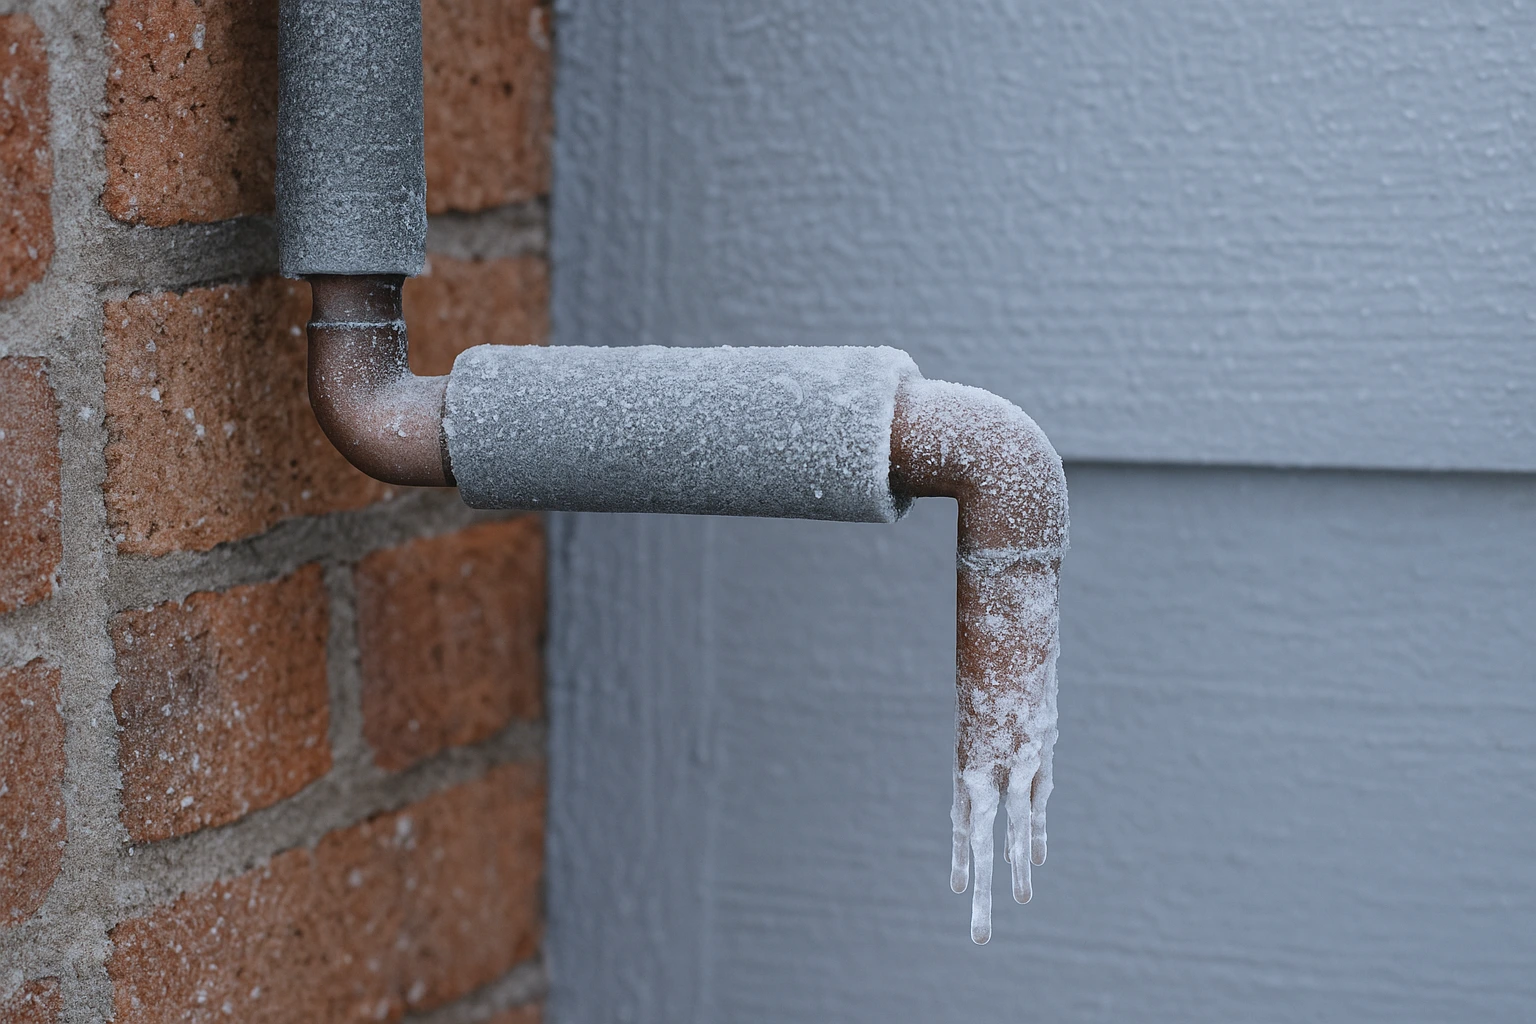
When water freezes inside your pipes, it expands. That pressure can cause pipes to crack or burst, leaking water into your walls, floors, or ceiling. One broken pipe can lead to thousands of dollars in water damage—and a whole lot of stress. Worse, it often happens when you’re not expecting it, like during a surprise winter storm or a freak cold snap in places that usually stay warm.
What can happen if pipes freeze:
-
Water leaks behind walls or under floors
-
Mold and mildew from damp materials
-
High repair bills for plumbing and home damage
-
Temporary loss of running water or heat
2. How Pipes Freeze: The Science Explained Simply
Pipes freeze when the temperature drops below 32°F (0°C) for several hours. Pipes along exterior walls or in unheated areas like basements and attics are at the highest risk.
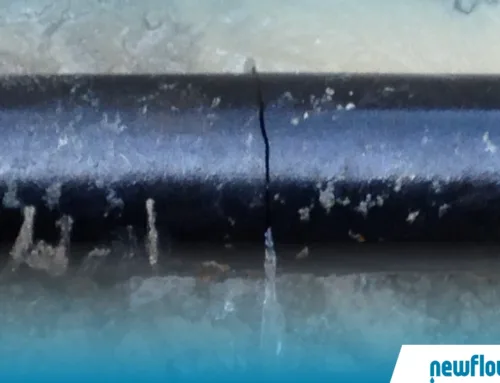
When water sits still in a cold pipe, it begins to form ice. As ice builds up, it blocks more water and increases pressure inside the pipe. Eventually, the pipe can’t hold the pressure and it cracks—or worse, explodes.
Key conditions that cause freezing:
-
Sudden drop in outside temperature
-
Poor insulation in the walls or around the pipe
-
No heat or low indoor temperatures
-
Wind chills that reach into crawl spaces or garages
3. What Pipes Are Most at Risk
Not every pipe in your home is equally vulnerable. Some pipes are more likely to freeze due to their location and usage.
High-risk pipe locations:
-
Outdoor hose bibs (spigots)
-
Pipes in unheated crawl spaces or attics
-
Water lines under the kitchen or bathroom sink on exterior walls
-
Pipes in uninsulated garages or basements
-
Outdoor sprinkler system lines
If you live in a warmer climate, your pipes may be more exposed and less protected because the plumbing wasn’t built to handle freezing weather.
You may try if you need: emergency plumber rosemont
4. Smart Ways to Keep Pipes From Freezing
Preventing frozen pipes is all about planning and protection. Here are simple things you can do right now to prepare your home.
A. Insulate Pipes
Use foam pipe insulation sleeves, heat tape, or even newspaper to wrap pipes in cold areas. Focus on exposed pipes near walls, ceilings, and crawl spaces.
Best products:
-
Foam rubber or fiberglass sleeves (available at hardware stores)
-
Electric heat cable with a thermostat
-
Bubble wrap in a pinch
B. Seal Air Leaks
Cold air sneaking in through cracks near pipes can drop the temperature quickly. Seal leaks around windows, doors, electrical wiring, and dryer vents.
Check areas like:
-
The back of kitchen cabinets
-
Basement corners
-
Around pipes entering the home
C. Keep the Heat On
Even if you’re going on vacation, keep the heat set to at least 55°F. This helps warm the air around pipes and prevents freezing.
D. Open Interior Cabinet Doors
Open the cabinets under kitchen and bathroom sinks to let warm air circulate around the plumbing.
E. Let Faucets Drip
Letting a small amount of cold water trickle from the faucet keeps water moving, which helps prevent it from freezing. Even a drip can make a big difference.
5. Emergency Steps When a Cold Snap Hits
If weather forecasters predict an unexpected freeze, you need to act fast.
Night-before checklist:
-
Let indoor faucets drip slightly (especially the ones along exterior walls)
-
Turn off and drain outdoor hoses
-
Open cabinets to expose pipes
-
Double-check insulation around exposed pipes
-
Keep garage doors closed to trap heat
If you expect extreme cold, consider temporarily wrapping pipes with towels or blankets and checking on them regularly.
You may try: drain cleaning carmichael
6. How to Spot a Frozen Pipe Before It Bursts
Catching a frozen pipe early can save you a lot of trouble. Look and listen for signs that something isn’t right.
Signs of a frozen pipe:
-
No water comes out when you turn on the faucet
-
Water pressure is unusually low
-
Pipes make strange banging or gurgling noises
-
Frost on the outside of visible pipes
-
Unusual smells from drains (caused by trapped water and gases)
If one faucet isn’t working but others are, the problem is likely localized. That makes it easier to pinpoint and fix.
7. What to Do If Your Pipes Are Already Frozen
If you think a pipe is frozen, you need to thaw it as soon as possible—before it cracks. But do it safely.
Step-by-step:
-
Shut off the main water valve. This prevents flooding if the pipe bursts.
-
Open faucets to allow water to escape as the pipe thaws.
-
Apply gentle heat to the pipe using:
-
A hair dryer
-
A heating pad
-
Towels soaked in hot water
-
-
Never use an open flame or blowtorch. This is dangerous and can cause fires.
Once the pipe thaws and water begins to flow again, check for leaks or cracks. If you find any, call a plumber right away.
8. Long-Term Fixes to Prevent Future Problems
Once you’ve dealt with frozen pipes, don’t let it happen again. Take steps now to protect your home for the long term.
Upgrade Pipe Insulation
Invest in professional-grade pipe insulation or heat cables for long-term protection.
Reroute Pipes
If possible, move exposed pipes into warmer areas of the house. This is a good project to plan during a renovation.
Install Smart Leak Detectors
These Wi-Fi connected sensors alert you if water starts to leak. Some models can even shut off your water automatically.
Add Heating to Vulnerable Areas
A small space heater in the attic or garage during freezing nights can make a huge difference. Use them safely and only when needed.
9. Common Myths About Frozen Pipes
There’s a lot of bad advice online. Let’s bust a few common myths.
Myth: Pipes only freeze when it’s below zero.
Truth: Pipes can freeze anytime temps fall below 32°F for a few hours—especially in unheated areas.
Myth: Dripping water is a waste and doesn’t help.
Truth: A slow drip can relieve pressure and prevent freezing.
Myth: If a pipe is frozen, you should wait for it to thaw on its own.
Truth: Waiting can lead to cracks. It’s best to thaw it safely right away.
11. Final Thoughts: Stay Ahead of the Freeze
Frozen pipes don’t have to be part of winter. With just a few smart steps, you can protect your home, avoid costly damage, and enjoy peace of mind—even when the weather surprises you. The key is preparation: insulate now, seal up cold spots, and know what to do when temperatures suddenly drop.
Stay warm, stay safe, and protect your pipes before they turn into a big headache.
FAQs


![How Much Does a Plumber Cost in Sacramento? [Pricing Guide]](https://plumbersacramento247.com/wp-content/uploads/2025/08/How-Much-Does-a-Plumber-Cost-in-Sacramento-1-500x383.jpg)